Veteran Owned and Operated

Month: August 2019

Can you DIY a light fixture?

How To: Install a Light Fixture

Since my current residence is only half finished, there are a lot of fixture-less light boxes in the ceilings—which means I am tripping over tools in the middle of the night more often than I care to admit.

Electrical DIY projects are not a favorite of mine; probably a result of being shocked as a child by the current from a cut phone line (or perhaps the innate fear of sudden death by electrocution). But for simple electrical work around the house, a little knowledge and the right tools can make the work slightly less intimidating and—more importantly—less shocking.

GETTING STARTED

Here are a couple of things you should know about electricity and residential wiring before you get started.

– All electric power is fed through the meter to your breaker panel. If you shut something off at the panel there is no power to the wires or boxes in the house.
– Shutting something off at the switch does not necessarily mean that there is no power to the wires in the electrical box.
– When looking at wires, black or red is the current, white is neutral, and green or copper is ground.
– Don’t stick a bobby pin into an electrical outlet, even if your cousin dares you to.

What You’ll Need

To replace or install a light fixture, here’s what you’ll need:
– Voltage detector (not strictly necessary but highly recommended)
– Wire strippers
– Screwdriver
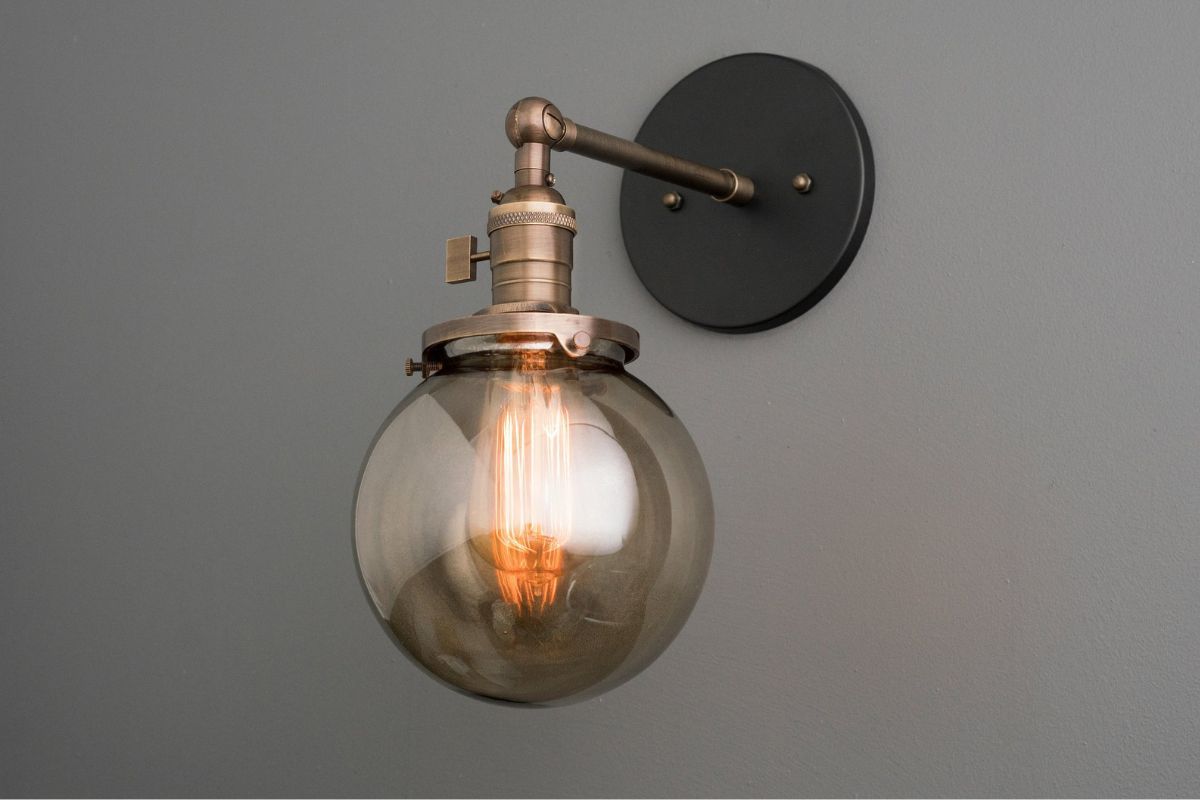
– Light fixture (a simple pull chain fixture is pictured but most fixtures install the same way)
– Work light/flashlight if working in an area without natural light
– Wire nuts (depending on your fixture)

INSTALLATION

Step 1: Shut off power 
For some fixtures you can simply shut the power off at the switch, but I recommend always shutting power off at the breaker. If you’re lucky, the breakers on your electrical panel will be labeled. If not it’s a bit of a guessing game, shutting off breakers and then using the voltage detector to make sure the area you’re going to be working in isn’t “hot.” (The voltage detector will beep and light up when a current is present.) I always power down my computer before randomly flipping off breakers … just in case.

Step 2: Connect wires 
A standard box for a light fixture will have three wires, a white (neutral), black (current), and copper (ground.)

A permanent fixture may have a plate that will be connected to the two screw holes on either side of the box, and I find it’s easier to have that done before connecting the wires (particularly on a heavy fixture that will need to be supported while wires are being connected.)

Wires may be connected to the fixture in different ways. In this case, the wires are wrapped around screws to make a connection. There may also be wires (of corresponding colors) in the fixture that would be connected to the ceiling wires with wire nuts.

In either case, use the wire stripper to remove 3/4″ of wire sheathing. To attach to screw connections, bend the wire into a U-shape, wrap around the screw, then crimp the wire closed and tighten the screw.  (White wire to silver screw, black wire to gold screw, ground to green screw.)

To attach wires to wires, twist like-colored wires together and then twist a wire nut over them.

Step 3: Attach fixture to box
This simple pull-chain fixture was attached with two screws that go directly into the box, but you may also have just one screw directly on to the mounting plate. Once the fixture is mounted, install a light bulb, turn the breaker back on, and let there be light.

Source: https://www.bobvila.com/articles/how-to-install-a-light-fixture/

Carpet Cleaning & Rug Cleaning in Irving
At Miracle Steam we understand that the purchase of carpet for your home or office is a long-term investment. We know that finding reliable Carpet cleaning in Irving TX can be a challenge. That is why we focus on not only getting your business the 1st time, but every time you need your carpets cleaned. We also feel that it is our job to help you maximize your return on that investment.

Carpet Re-stretching and Repair
What do you do when normal wear and tear begins to take its toll on your carpet, or occasional accidents cause damage to face yarns or backings? Book an appointment today so we can examine the damage and come up an effective repair plan.

Tile & Grout Cleaning in Irving
Miracle steam provides tile and grout cleaning in Dallas. If you have dirty grout and tile in your foyer, kitchen, bath room, or hallway, we will clean your grout and tile to look like new.

Air Duct Cleaning in Irving
In the last ten years, the number of cases of allergies, asthma and lung disease has increased 72% due to poor indoor air quality, according to the American Lung Association. Book an appointment today!

Upholstery Cleaning in Irving
We provide upholstery cleaning anywhere in Dallas. Let us use our professional steam cleaning to make your sofa, chairs, and mattresses look like new.

Banish clogs for good—without calling a pro

Here’s how to outsmart a stopped up or slowly draining kitchen sink and banish clogs for good—without calling a pro.

Clogged Kitchen Sink? 5 Steps to a Fresh Drain

Photo: istockphoto.com

Q: Last night my kitchen sink clogged up while I was in the middle of a load of dirty dishes. By morning, the sink had finally drained, but I certainly don’t want this happening again. Is it a situation I can tackle this myself, or do I need to call a plumber?

A: While a clogged kitchen sink is annoying, most folks can clear up this common problem without a plumber or caustic chemicals. Often, a buildup of food scraps and grunge is to blame for the obstruction. Fat and grease, fibrous foods like celery, starchy stuff such as pasta and potatoes, and even bones can wind up in your kitchen sink accidentally. Although certain food refuse can safely be ground up by a garbage disposal, stubborn scraps and gross goo can eventually stop up a hard-working kitchen sink, so follow this guide to get the drain running again.

RELATED: The Dos and Don’ts of Clearing a Clogged Drain

Check the garbage disposal.

A clogged kitchen sink with a built-in garbage dipsosal may just have food scraps from last night’s dinner that the unit failed to grind up, in which case running the appliance again could fix the problem. Turn on the tap and switch on the disposal.

If nothing happens when you flip the switch, the disposal’s internal circuit breaker may have tripped due to the clog overloading the motor. Look underneath the unit for a small red button, push it to reset the circuit breaker, and try running the unit again.

If the disposal hums but the blades don’t spin, something is likely jammed in the works. Remove as much standing water as possible into a bucket or bowl and then unplug the garbage disposal (the electrical cord and outlet will be underneath the sink). Shine a flashlight into the disposal and, if you spy an obvious culprit, such as a chicken bone or spoon, use a pair of tongs or plyers to remove it. (Never stick your fingers inside a garbage disposal; those blades are sharp!) Plug the disposal back in, and give it a try.

Problem solved? Great! If not, continue to the following steps.

Try boiling water.

Sometimes, you can melt a partial grease clog using boiling water. Fill a pot or teakettle with water and bring it to a boil. Then carefully pour it directly into the drain. If the water drains easily, you’ve cleared the clog and you can move on to the kitchen sink maintenance tips, below. If not, try the next step once the water has cooled down.

Clogged Kitchen Sink? How to Plunge the Drain Correctly

Photo: istockphoto.com

Pick up a plunger.

Plunging will often force a clog down and out of your sink drain. First, if you have a double sink, block the unclogged side with the stopper or a wet rag. For a good seal with the right plunger, you’ll need at least three or four inches of water on the clogged side, so if necessary, run the sink until the water reaches that level. Now, cover the clogged kitchen sink drain with the plunger and vigorously pump up and down for 30 seconds or so. Stop and see if the water easily swirls away, indicating that you’ve cleared the drain. If not, plunge for another 30 seconds. If the clog is still present, try another tactic.

Check the trap.

If the above steps fall short, or you have a double sink with both sides stopped up, there’s a good chance that the clog is located in the trap—the U-shaped portion of your sink’s drainage pipe. Gather a bucket to catch water and a wrench, if necessary, to loosen the fasteners holding the trap in place. Place the bucket underneath the trap, loosen the fasteners with your fingers or wrench, and then remove the trap. Inspect it for blockages, using a coat hanger or similar tool to push the offending mass out of the pipe. Rinse the trap clean in a different sink or with a garden hose, and then replace it in its proper position. Run the faucet and see if the water drains normally. If the clog persists, or there wasn’t any blockage in the trap, continue to the next step.

Send in the snake.

A clog may be lodged even further down than the trap—a job for a drain snake. Also called a sink or plumber’s auger, and available at just about any home improvement center for less than $25, this useful tool cranks by hand, sending a thin “snake” of wire into the plumbing to push through blockages.

Before snaking a drain, place a bucket below the trap to catch water and remove the trap. Then loosen the drain snake’s setscrew and pull out several inches of cable. Feed the cable into the waste line–that’s the part of the pipe that carries waste water away from your home–and then crank the snake clockwise to push the auger deeper into the pipe. If you feel obstructions, slightly pull back, and then continue to crank the snake forward. You’ll know you’ve hit a clog if you first feel resistance, but then feel the snake break through the blockage and become easier to crank forward.

Start to withdraw the snake by cranking its handle counterclockwise. Wipe the gunk off the snake with a rag or paper towels as you pull it out of the pipe. Now, insert the snake into the pipe again and crank it forward. Repeat as many times as necessary until you no longer encounter any resistance.

Reassemble the sink’s trap and turn on the water. If your sink still doesn’t drain, the problem could be further down the plumbing than you can reach with a snake, or caused by a more serious blockage, such as tree roots breaking into the pipes, and the time has come to call a plumber.

RELATED: The 10 Biggest Mistakes You Could Make at Your Kitchen Sink

Keep your kitchen sink draining properly.

Clogged Kitchen Sink? 5 Steps to a Fresh Drain

Photo: istockphoto.com

Once you’ve unclogged your drain, keep it open by following these guidelines.

  • Leave water running the entire time the garbage disposal is in use, and for several seconds afterward, to thoroughly flush food scraps down the drain.
  • Only feed half a cup of scraps into the garbage disposal at a time to avoid overloading its motor. If you don’t have a garbage disposal, toss food scraps into the trash or your compost pile.
  • Once a week or so, dissolve buildup inside the pipes by pouring a half-cup of baking soda into the drain and then topping it with half a cup of white vinegar. The baking soda helps absorb odors, the mild acid of the vinegar helps dissolve buildup, and the foaming action of the two combined lifts away food particles and other slimy grunge. Once the foaming stops, flush the drain with hot water to further reduce buildup.
  • Whether you have a garbage disposal or not, the following items should go into your trash or compost pile, never into your kitchen drain:
    1. Coffee grounds, which tend to clump and eventually build up inside the pipes.
    2. Cooking fat or grease, which coat the inside of the drain and narrow the passageway.
    3. Starches such as rice, pasta, or potatoes in quantities more than a quarter-cup or so, which turn into a swollen, sticky mess inside the pipes.
    4. Stringy, fibrous foods such as celery, which can entangle garbage disposal blades.
    5. Bones, fruit pits, and eggshells, which are hard on a garbage disposal’s blades and don’t easily flush down the sink’s drainpipe.
    6. Any nonfood items, including paper, cigarette butts, paint, motor oil, hair, and kitty litter, none of which travel easily through plumbing lines.

Source: https://www.bobvila.com/articles/clogged-kitchen-sink/